Arch Linux offers a unique opportunity to create a custom-tailored operating system precisely to your needs. However, the manual installation process can be intimidating for newcomers and seasoned Linux users alike. Luckily, Archinstall simplifies this process, allowing even beginners to set up a minimal Arch Linux system quickly and efficiently.
What is Archinstall?
Archinstall is a streamlined installer for Arch Linux designed to simplify the installation process, especially for users new to Arch. It provides a guided, step-by-step interface, making it easier to set up a basic Arch Linux system without the complexities of manual installation.
Prerequisites
Before diving into the installation process, there are a few things you’ll need:
- A computer with compatible hardware.
- A stable internet connection.
- A USB flash drive with the Arch Linux ISO image written to it.
- Basic understanding of partitioning and disk management.
Installation Steps
Step 1: Booting into Arch Linux
Insert the USB flash drive containing the Arch Linux ISO image into your computer and boot from it. You may need to adjust your BIOS settings to prioritize booting from the USB drive.
Step 2: Launching Archinstall
Once the system boots from the USB drive, you’ll be greeted with the Arch Linux installation prompt. Type archinstall and press Enter to start the installer. If instead you’re running this from under and existing Arch installation, you may need to execute sudo archinstall.
archinstall
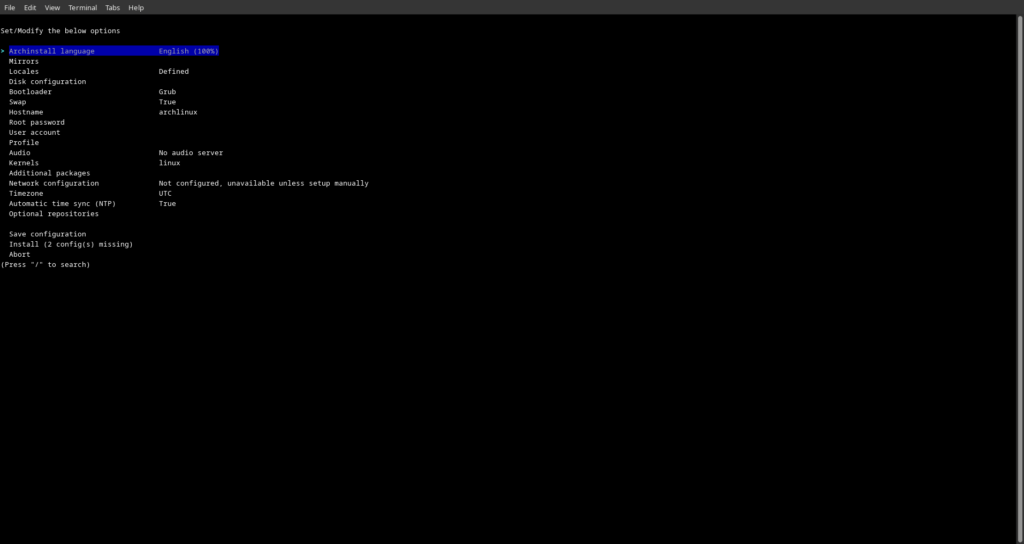
Step 3: Selecting Installation Options
Archinstall will present you with various installation options. For a minimal installation, choose the “minimal” option. You can also customize the installation according to your preferences if needed.
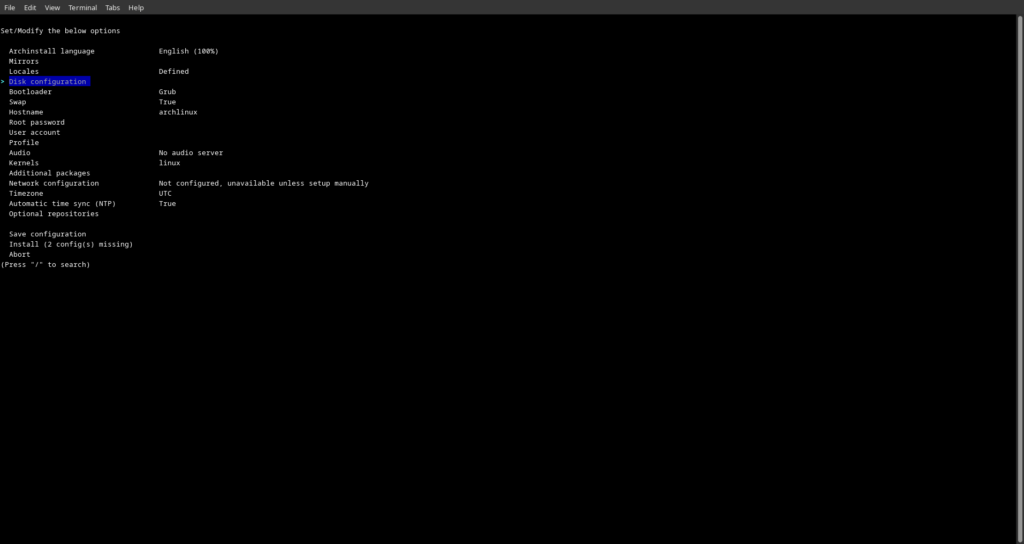
Step 4: Partitioning the Disk
Next, you’ll need to partition your disk. Archinstall offers automatic partitioning or manual partitioning options. For simplicity, you can select automatic partitioning. However, if you prefer more control, choose manual partitioning and create partitions according to your requirements.
Step 5: Installing the Base System
Once the disk is partitioned, Archinstall will proceed to install the base system. This includes essential packages and configurations required for a functioning Arch Linux system.
Step 6: Configuring System Settings
After the base system is installed, you’ll be prompted to configure various system settings such as hostname, timezone, locale, and root password. Follow the on-screen instructions to complete these configurations.

Step 7: Creating a User Account
For better security and ease of use, it’s recommended to create a non-root user account. Archinstall will guide you through the process of creating a user account and setting up sudo access if desired.

Step 8: Installing a Boot Loader
Choose a boot loader to install. Grub is a popular choice and works well for most systems. Archinstall will install the selected boot loader and configure it to boot Arch Linux.

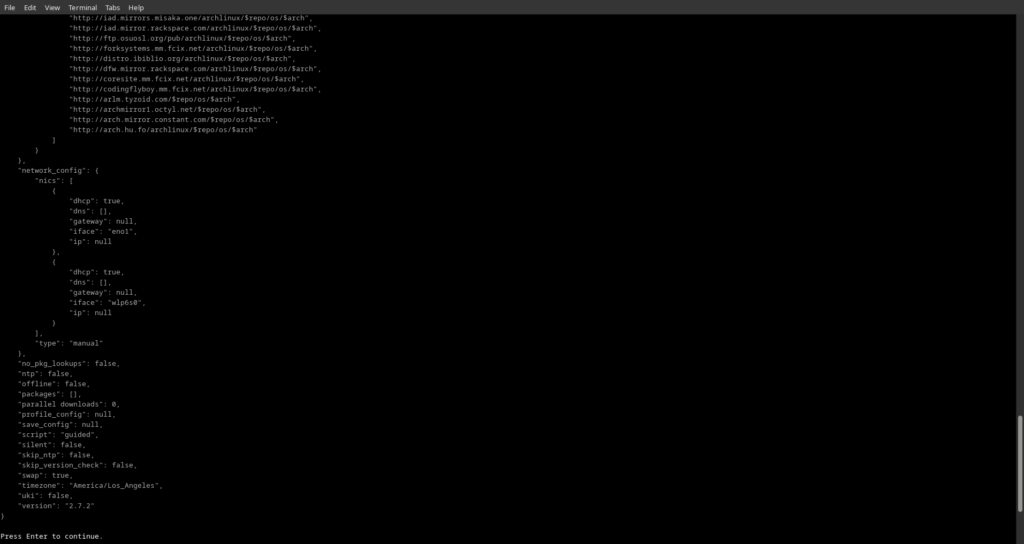
Step 9: Finalizing Installation
Once all the configurations are complete, Archinstall will display a summary of the installation settings. Review them carefully to ensure everything is correct. If satisfied, proceed with the installation.
Step 10: Rebooting into Arch Linux
After the installation is complete, remove the USB flash drive and reboot your computer. You should now have a minimal Arch Linux system installed and ready to use.
Conclusion
Arch Linux offers unparalleled flexibility and customization, but the manual installation process can be daunting for newcomers. Archinstall simplifies this process, allowing users to set up a minimal Arch Linux system quickly and easily. By following the steps outlined in this guide, you can enjoy the benefits of Arch Linux without the complexities of manual installation. Happy Arching!


0 Comments